Trust Tax Return (TTR)
Legislation changes
|
TTR form in GovReports can be accessible from either Outstanding Reports if it is issued by ATO or overdue or from Forms on the Client's Profile.
|
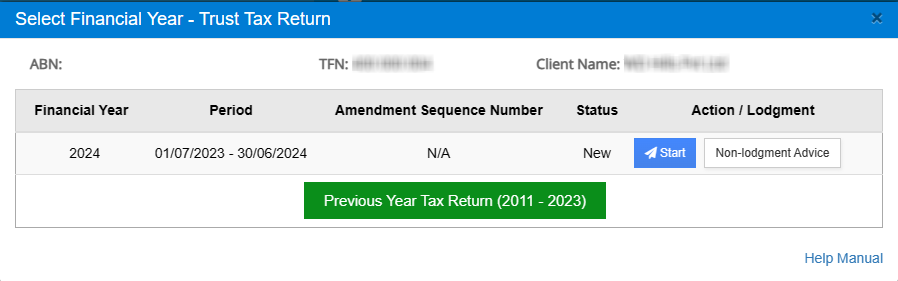
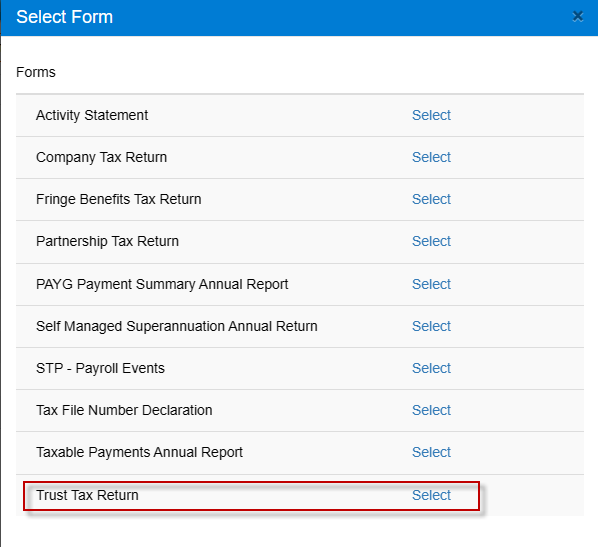
When you select -> Trust Tax Return from Forms on the client's profile, you will have the option to either start the Tax Return for the Trust Tax Return 2024 or prepare a Non-lodgment advice or click to select previous Year Tax Returns.
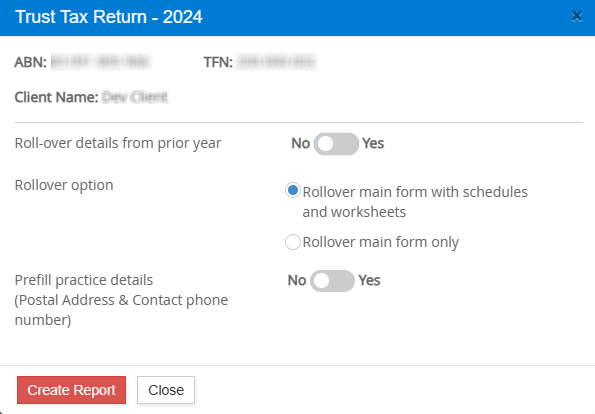
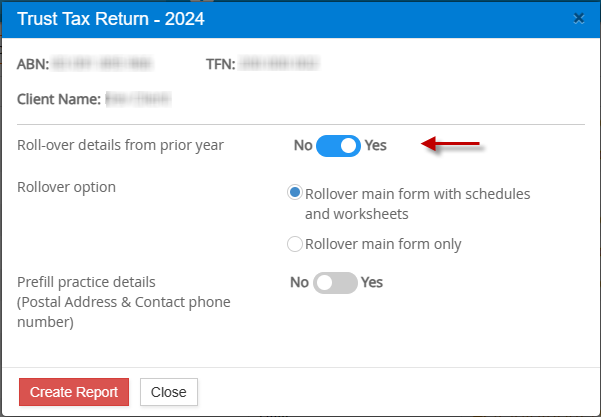
As soon as you start the Trust Tax Return, you will be redirected to the screen below. The Rollover and Prefill options are now combined where you can select it at the start of the Trust Tax Return.
You can set the controls where you can Rollover the details (from the prior year) if you have lodged the prior year Tax Return from GovReports.
The Prefill practice details allows you to prefill the Postal Address, Previous Postal
Address, & Contact Name from My Business -> More settings.
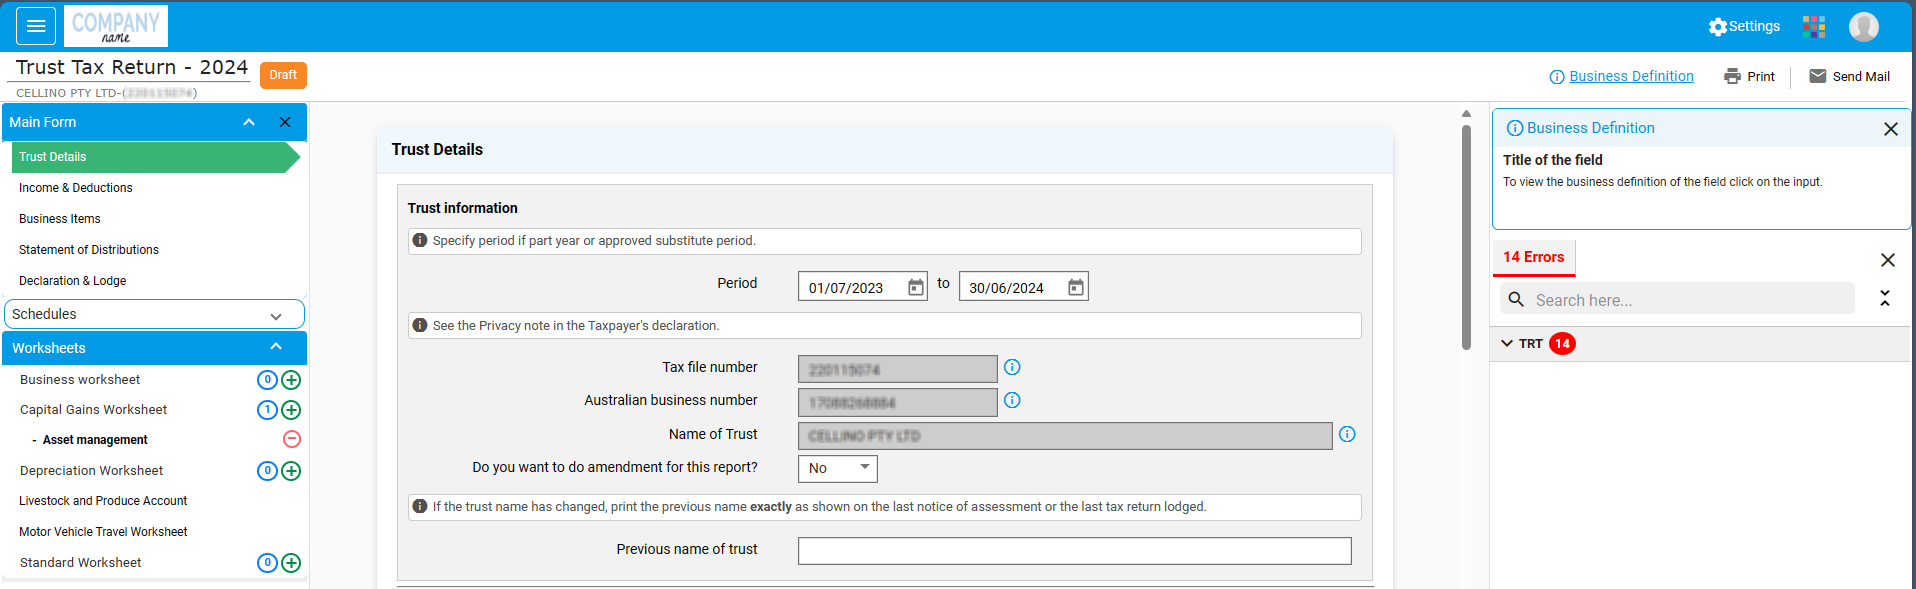
The Trust Tax Return has a new design and layout
Quick links
The Trust Tax Return form has different sections like main form, schedules and worksheets.
Each section has the relevant quick links on the right which when clicked gets redirected to the appropriate schedule or worksheet.
The 2024 Trust Tax Return has the following changes.
- 1. Distributions to Beneficiaries of Trust Schedule is added
- 2. The 'Send Email' function enables prepared TTR report to be emailed as a PDF attachment.
- 3. The “Report” option is given at the top of each page to open the TTR in PDF or email with the TTR report as a PDF attachment.
- 4. "Validate & Save" to save the TTR values entered and validate with ATO.
Go to My Clients -> Locate the client.

Select Actions -> Forms -> Trust Tax Return
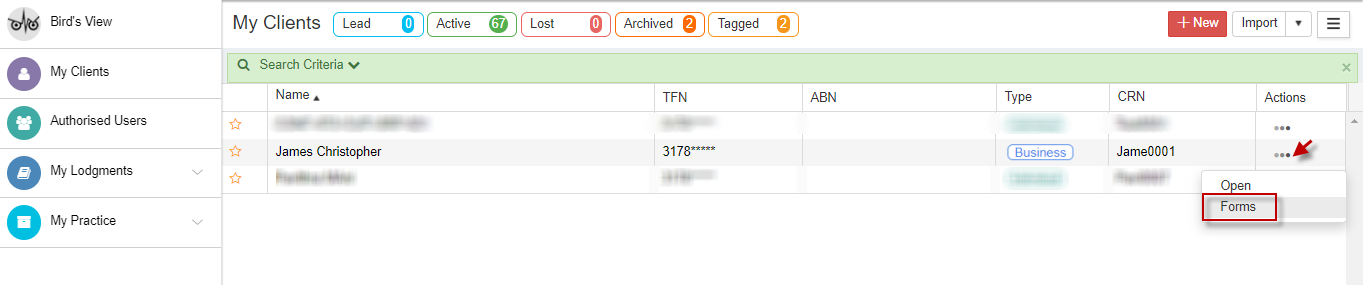
Click “Start” for the Financial year 2024.
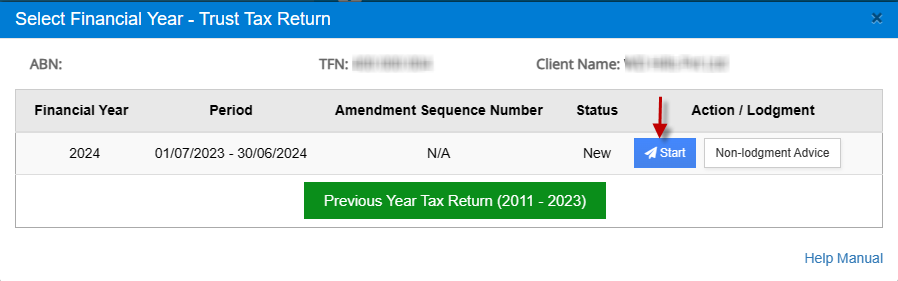
If you wish to lodge Trust Tax Return for prior years starting from 2012, you can select “Previous Year Trust Tax Return” and proceed to prepare the Trust tax returns.
Rollover
When you click “Start” button next to Financial year 2024, you will get a window as shown below:
You can toggle on “Roll-over details from prior years”. This allows rollover of data from the prior tax return lodged from GovReports.
The Trust tax return form opens up with the data from “Rollover”.
There is also another way to “Rollover” the Trust Tax Return.
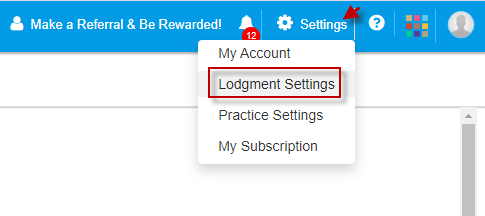
On the top right corner, go to Settings -> Lodgment Settings.
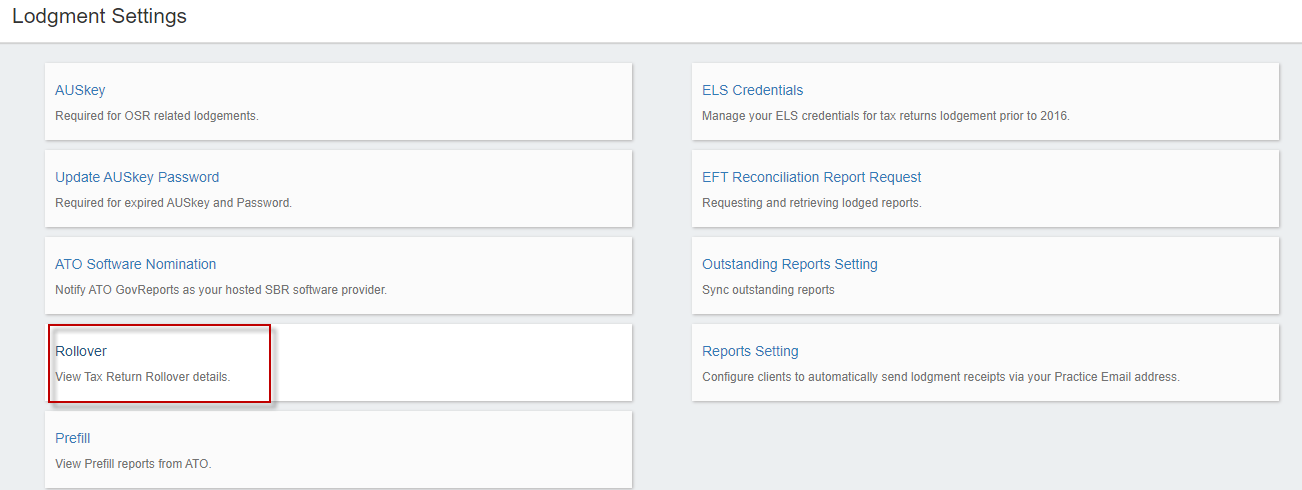
Select “Rollover”
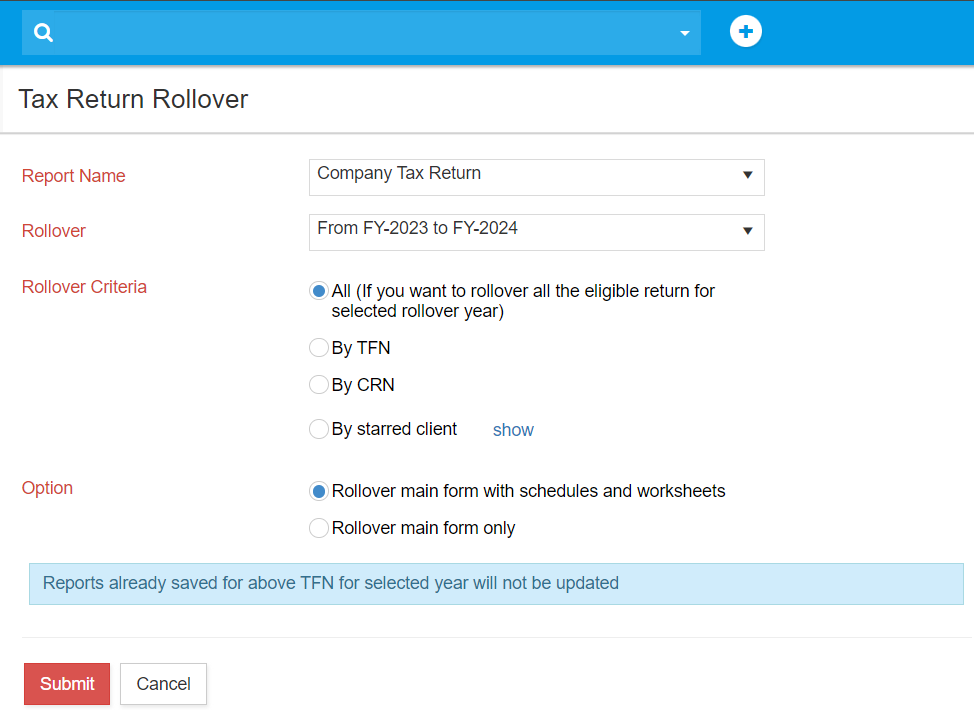
Select the Tax Return type from the drop-down and select the “Financial Year”.
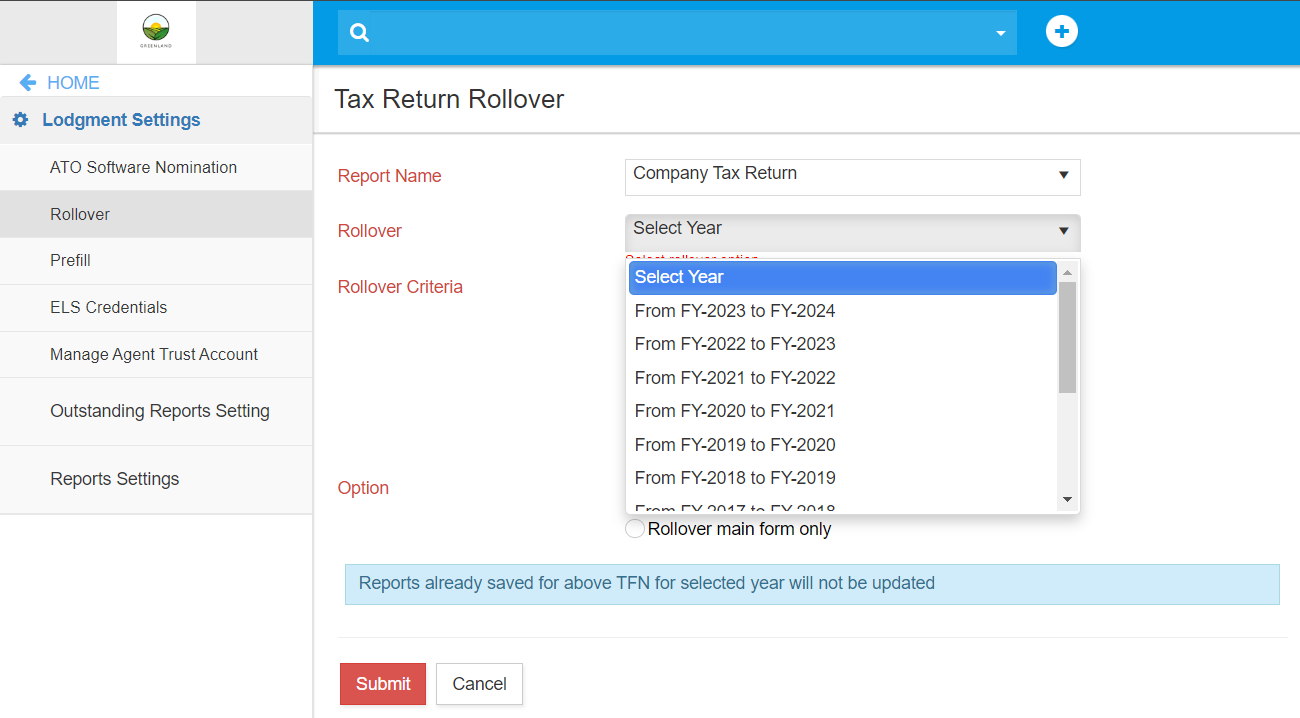
You can select the Rollover Criteria and Option. Select “Save”.
Business Definition
This Business Definition statement clarifies the essential meaning of input values within our business context. Input values are the key data or information used to initiate operations and decision-making processes. By defining these inputs clearly, we ensure consistency, accuracy, and trustworthiness in our operations, ultimately improving overall business performance.
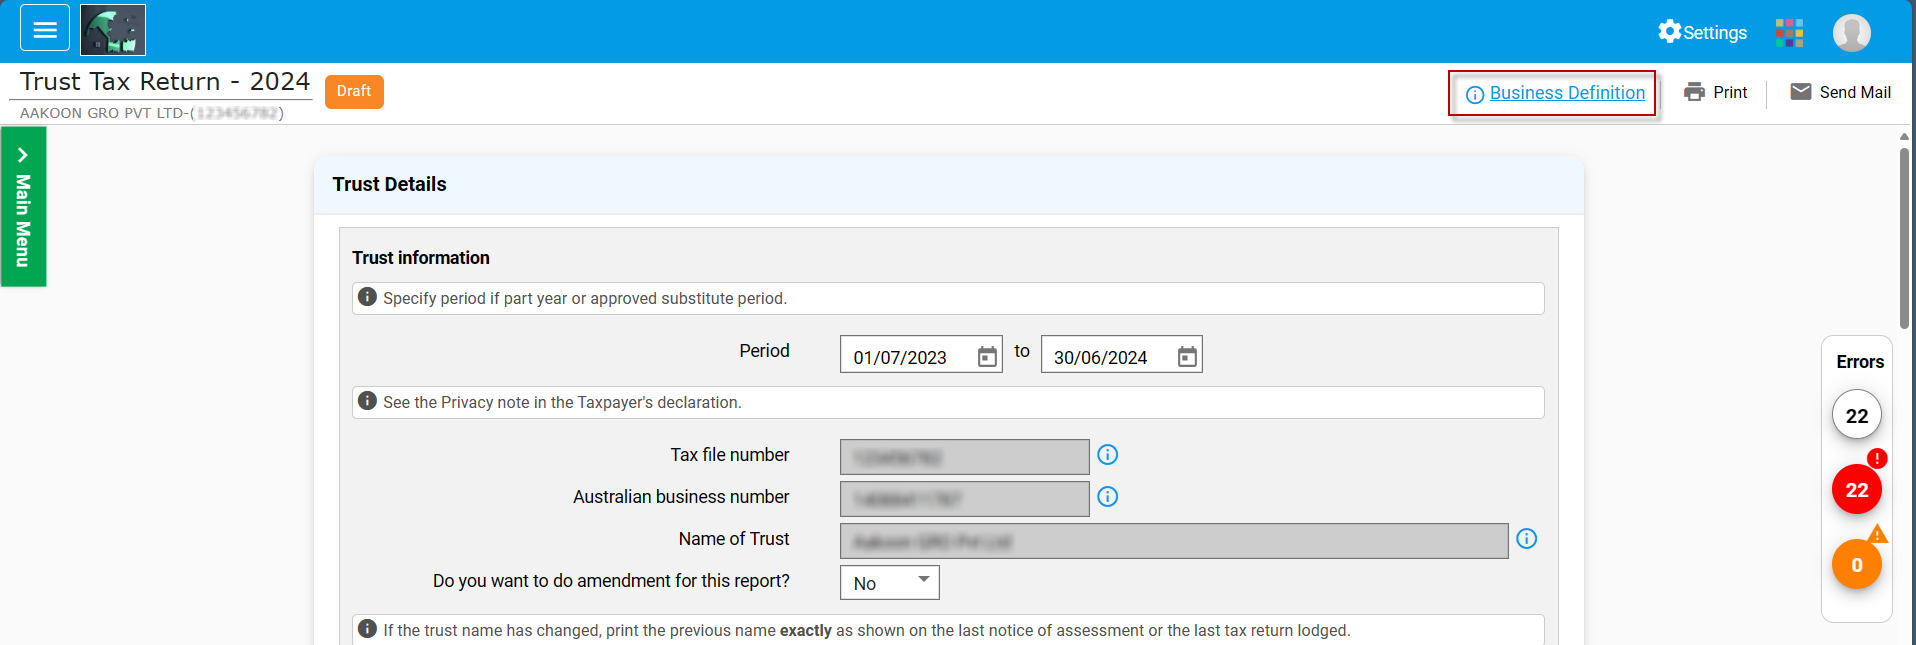
Click "Business Definition" to open the section on the left side.
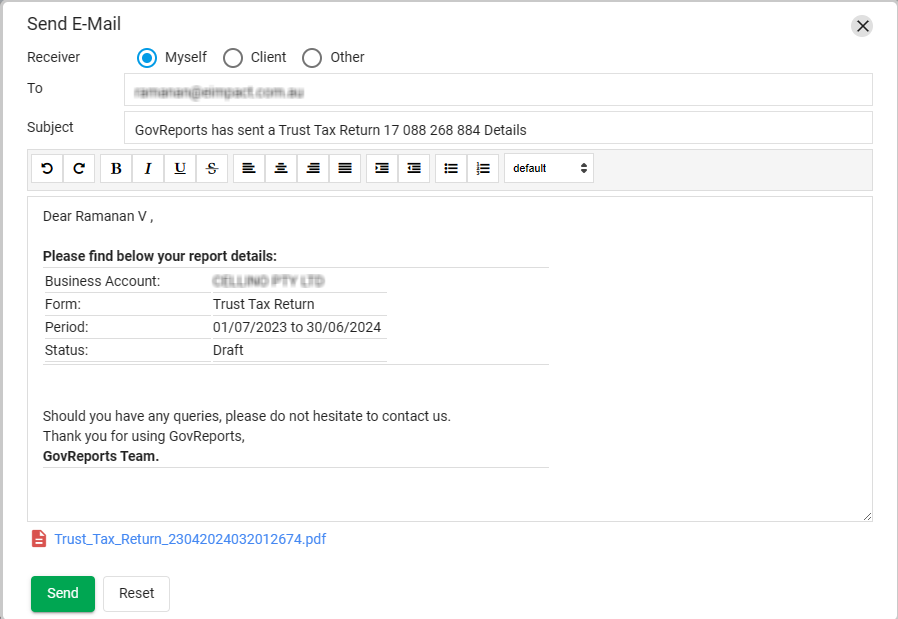
 Send Email
The 'Send Email' function enables report to be sent as an attachment via email.
Adding schedules
The main form consists of the following sections.
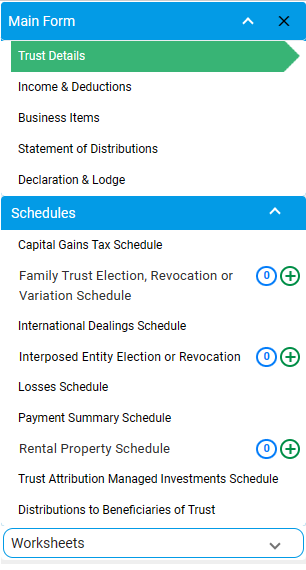
The additional components other than the main form sections are Schedules and Worksheets.
The worksheets and schedules have the detailed data entry which also includes calculation methods.
You can add an Income schedule or a Rental Schedule by clicking on Schedule -> Select “Plus” icon next to the schedule name.
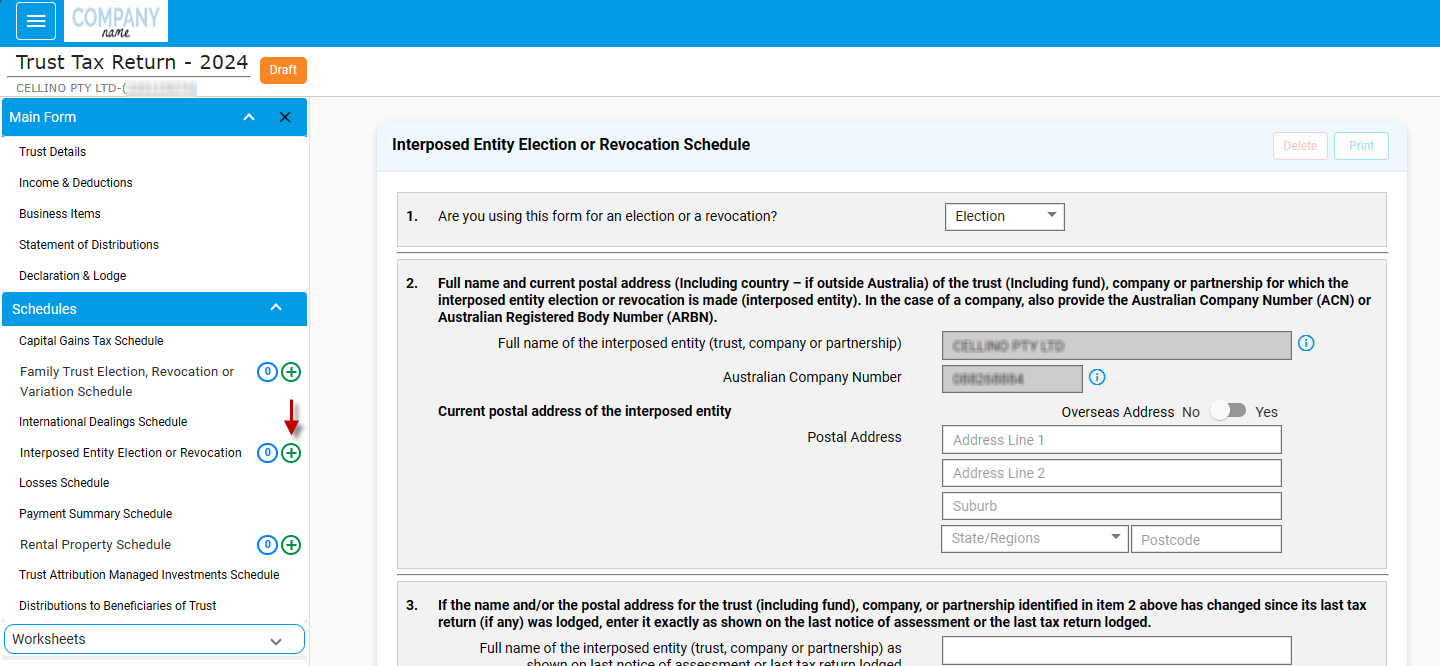
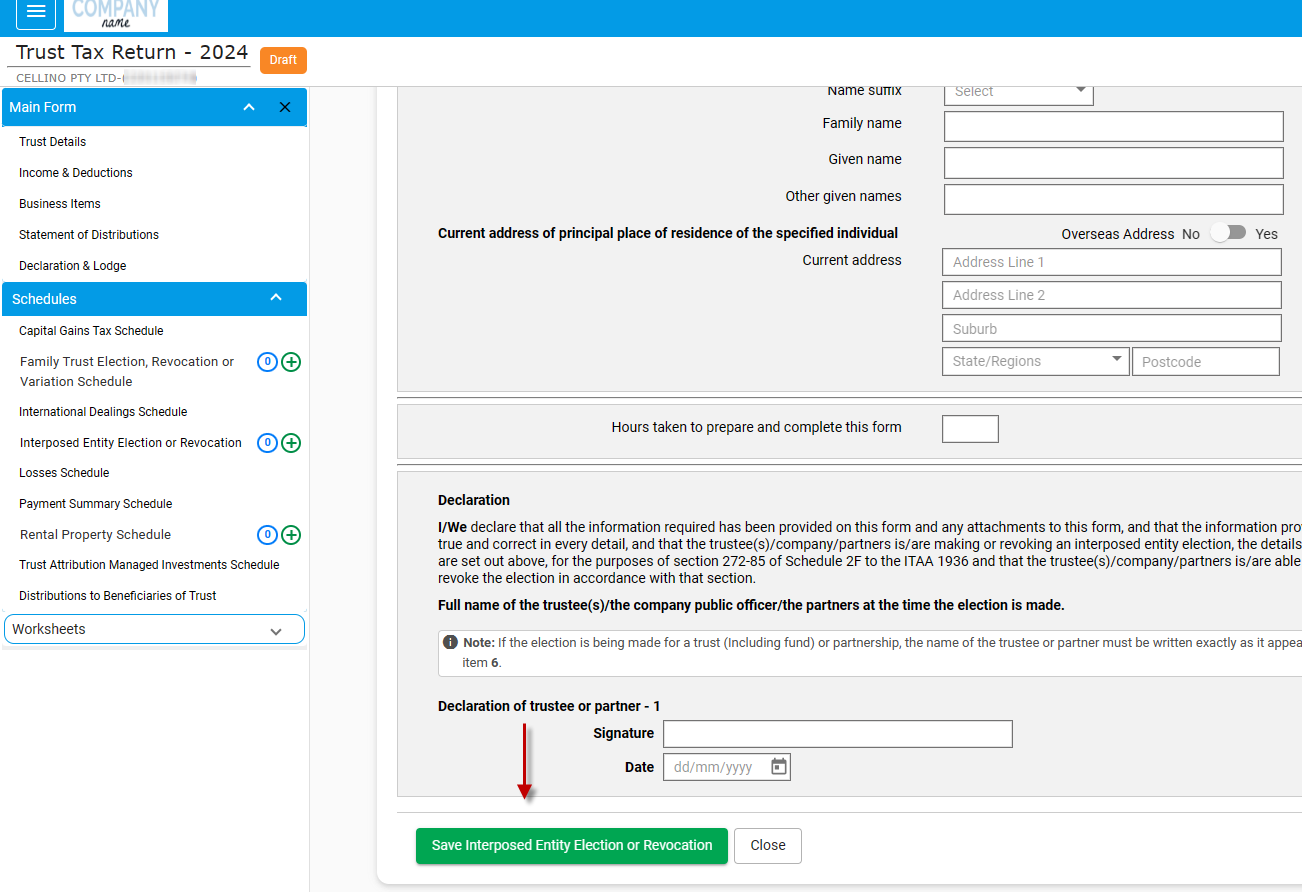
The Interposed Entity Election or Revocation schedule opens up. You can enter the details under various headings (highlighted) or add via “Interposed Entity Election or Revocation” if it is “Interposed Entity Election”.
Once you finish entering the schedule, you can save it.
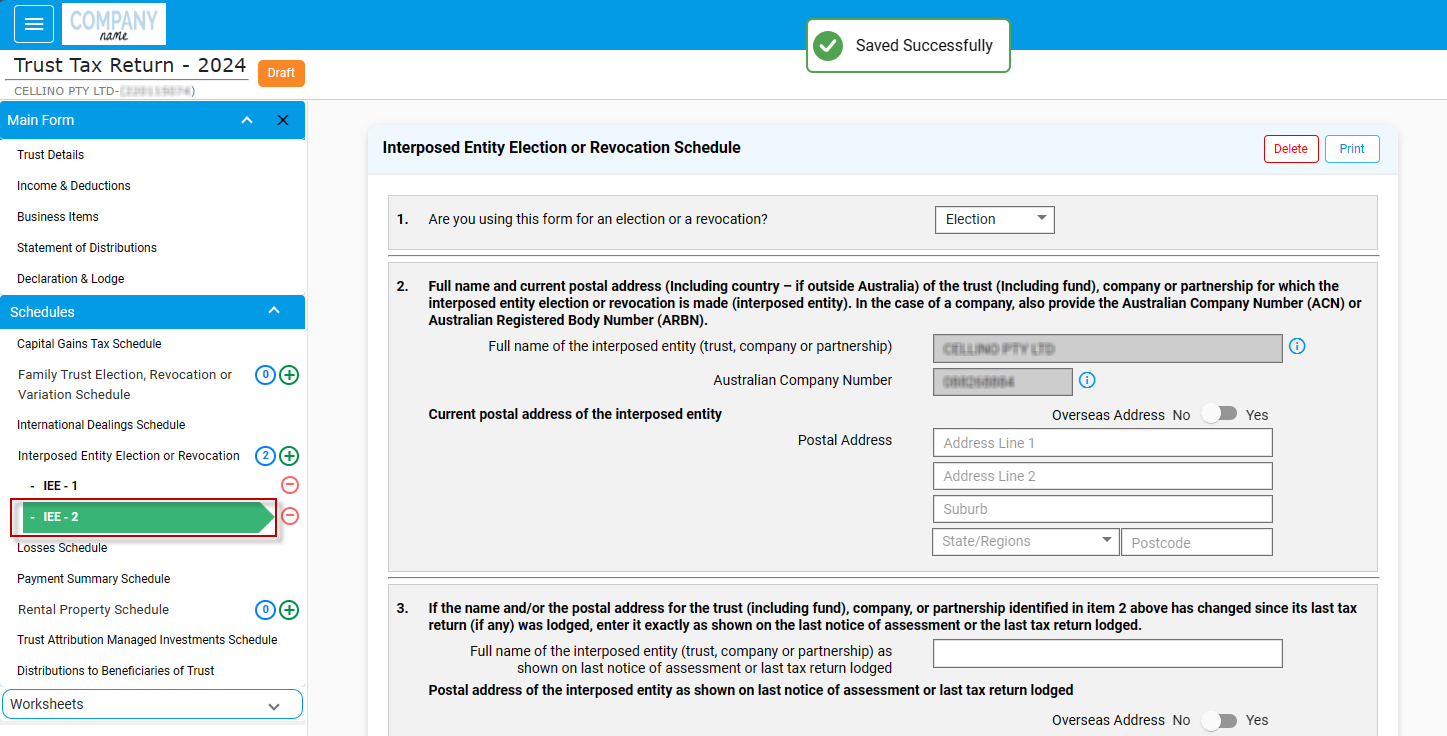
You can notice that now 2 schedules under Interposed Entity, Election or Revocation schedule has been added.

You can navigate to a particular schedule by just clicking on the name.
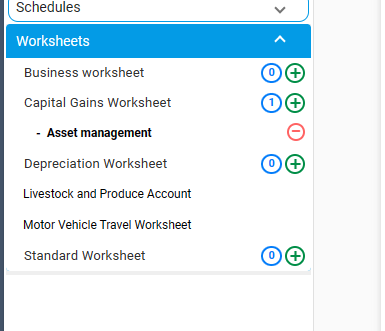
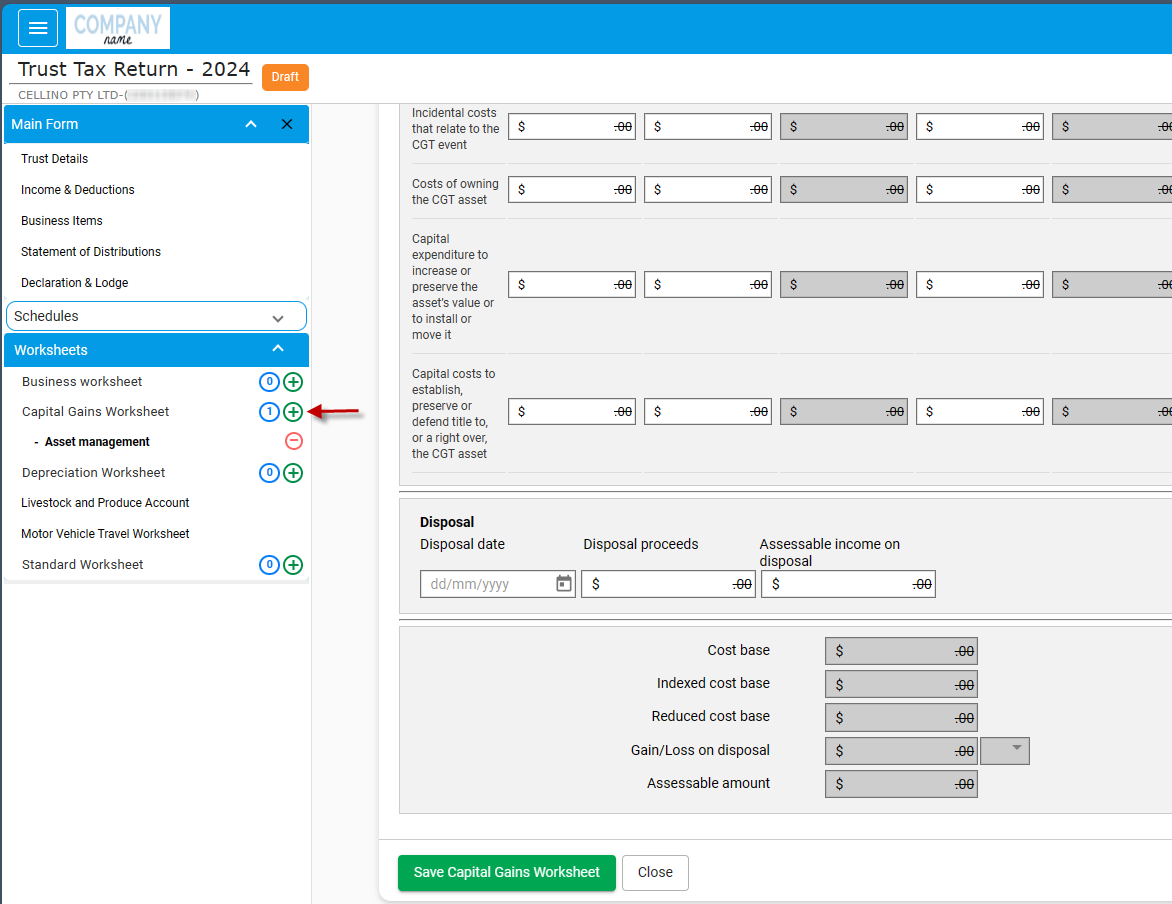
Adding worksheets
Go to Worksheets -> Select the name of the worksheet.
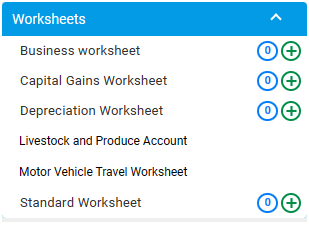
For example, to add Capital Gains worksheet, you can click on it.
Enter the data.
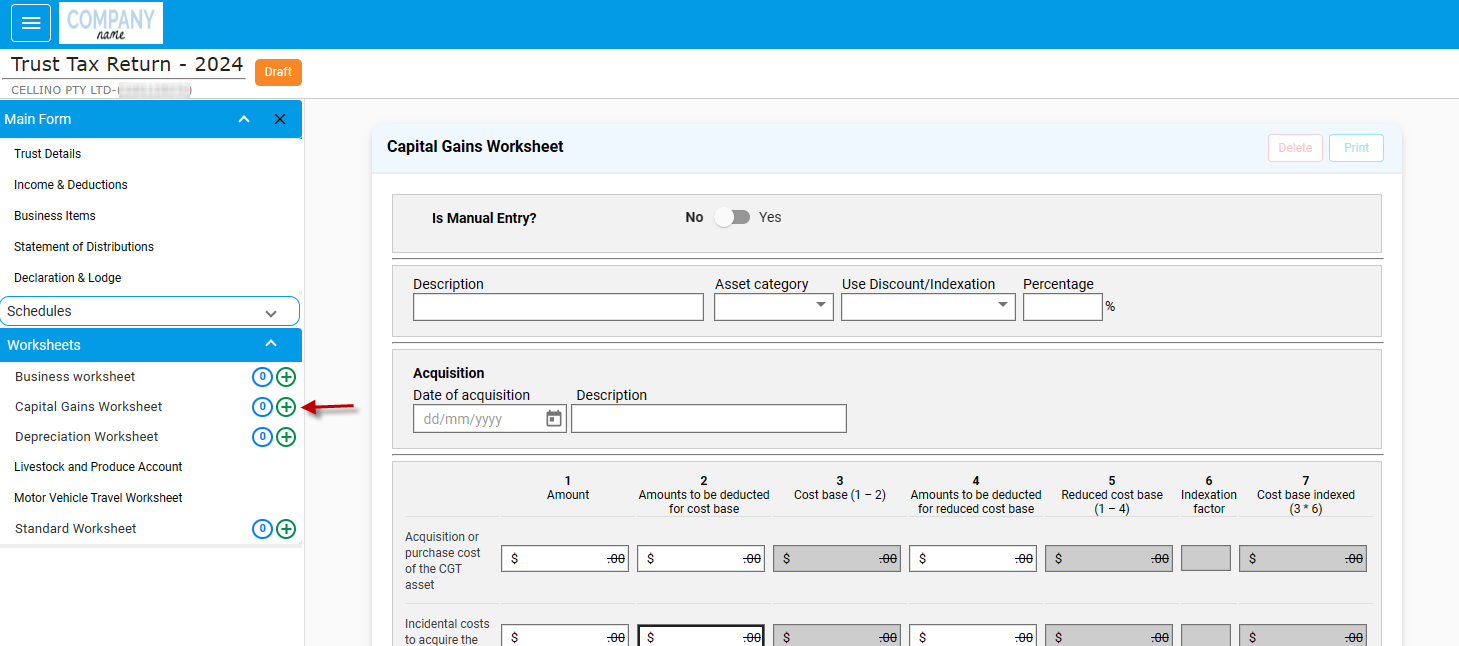
You can click “Add Capital Gains details” to add another Capital Gains.

Save the worksheet.
You can add Depreciation/ Capital Gains worksheet by clicking on the “Plus” icon.
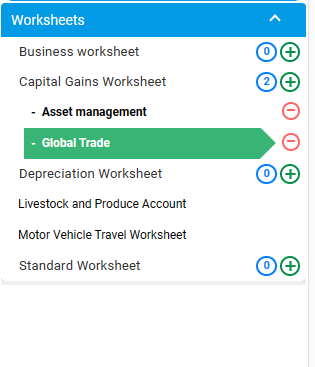
Adding multiple Worksheets and Schedules
You can add multiple worksheets under a single worksheet. Similarly, a schedule can have multiple schedules in it.
You can add it just by clicking the “Plus” icon.
For example, under “Capital Gains”, you can click on “Plus” icon to add multiple income schedule.
You can see that 2 Capital Gains worksheet schedules are added. Any number of schedules can be added as required.
Also, in the worksheets, you can add as many worksheets as required by clicking on the “Plus” icon.
Editing the worksheet and schedule
At any point of time, you can edit the worksheet or schedules by just clicking on the schedule/ worksheet name.
The worksheet/schedule opens. You can start re-entering or editing the values and also by saving the worksheet/schedule.
Send for Signature
After you have prepared the worksheets and schedules, the data will be transferred into the appropriate sections of the main form.
The errors can be viewed when the “Errors” button on the right is clicked.
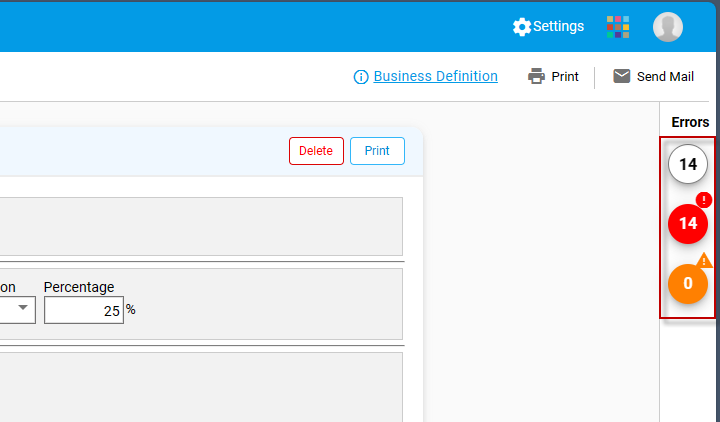
The error message when clicked, explains the steps to resolve and the relevant field is highlighted for the user to easily identify the location to rectify the error.
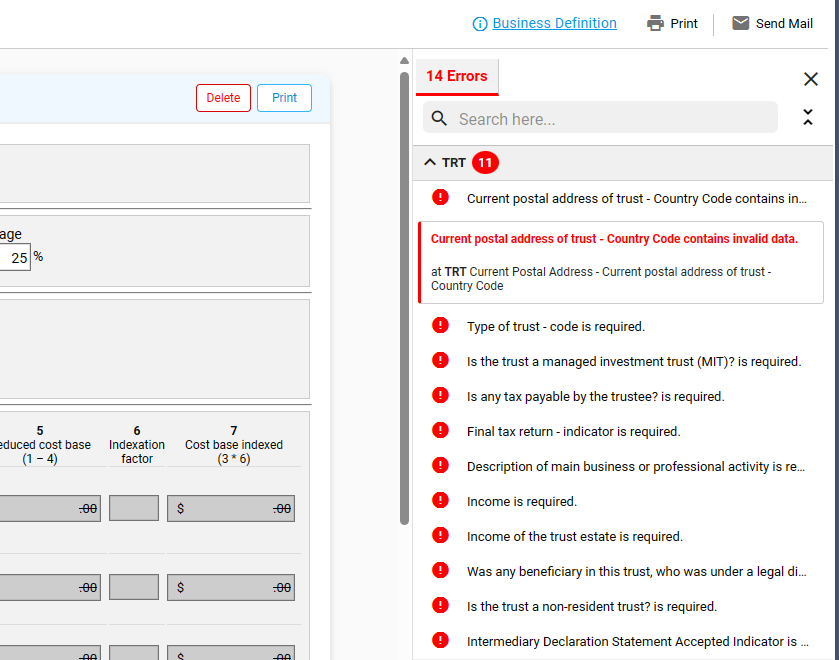
After rectifying all the errors, select “Declaration and Lodge”
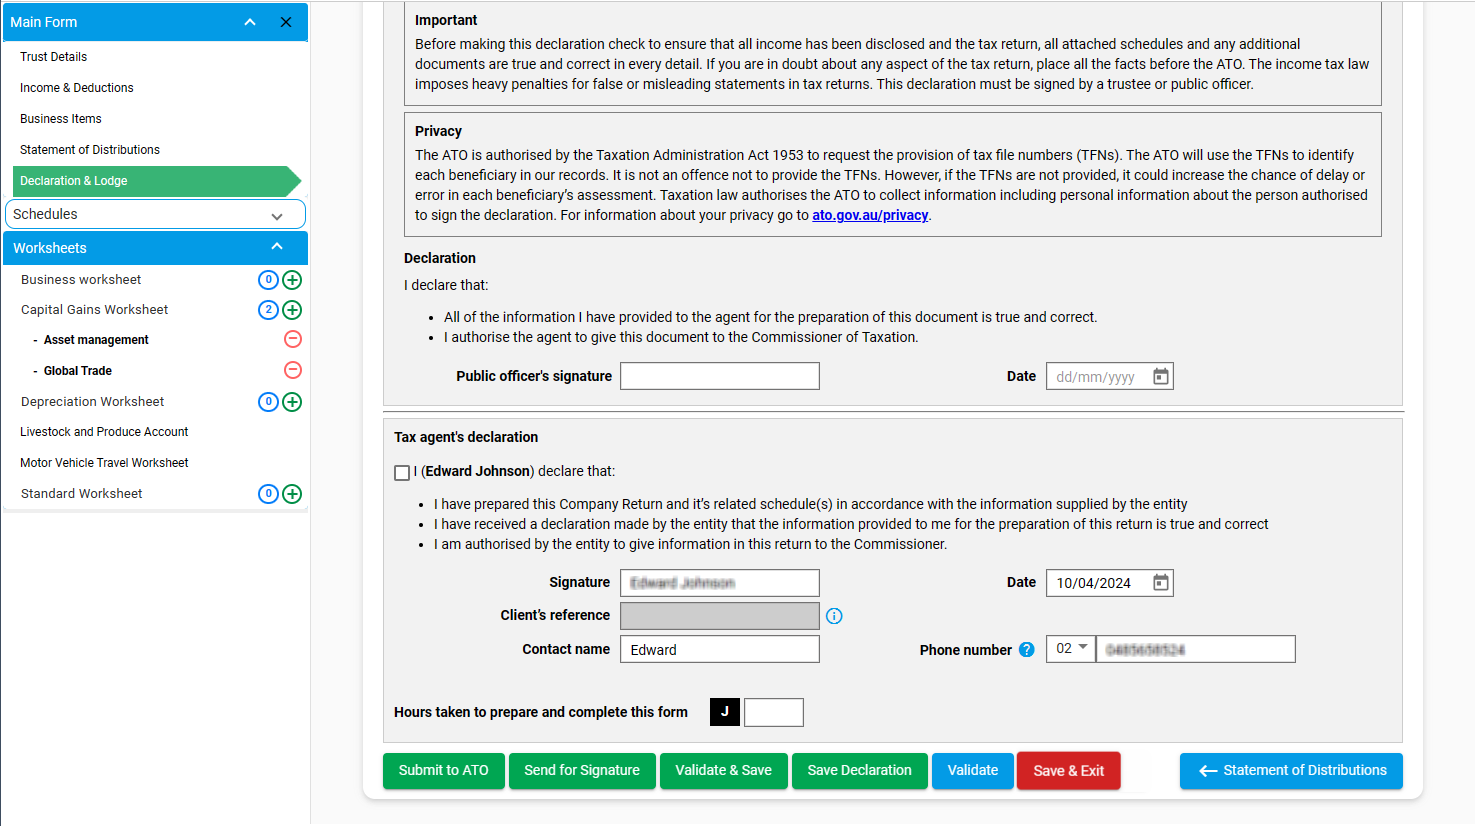 Submit to ATO:
Once form was valid status, then proceed with "Submit to ATO" to lodge the Return to the ATO
Send for Signature:
Agent can send the current report to their client to Sign the report using DA to clicking "Send for Signature". it will redirect to New Version of DA.
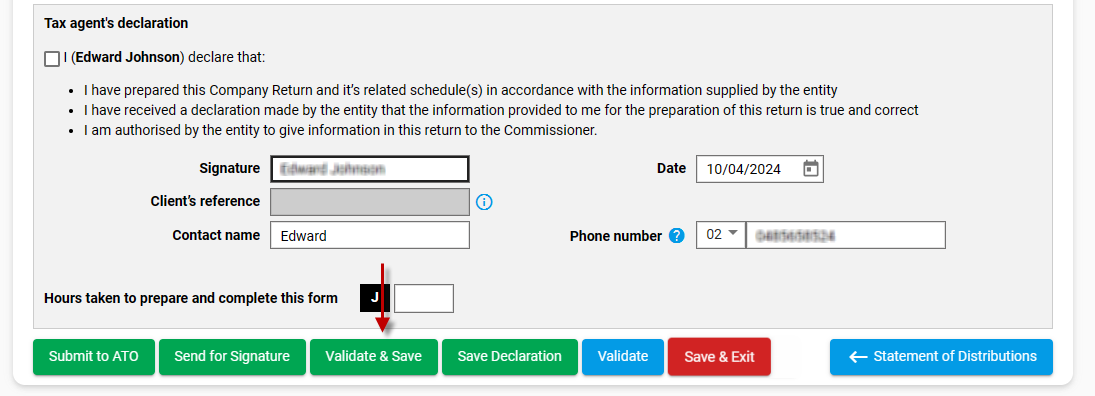
Validate & Save:
By Clicking "Validate & Save" to save the detail and validate the current value with ATO Validation before Lodge
Save Declaration
Save the return like as Draft one.
Validate
like Prelodge
Save & Exit
Save the return like as Draft and redirect to save report.
Lodgment
After preparing the Tax Return, you can lodge directly or lodge after sending it for Signature.
To lodge straight away, go to “Declaration & Lodge”, click "Submit to ATO" button.
After the client has signed the document, you can also lodge via My Lodgments -> Saved Reports.
Deleting the worksheet and schedule
You can delete the worksheet or schedule by just clicking on the “Minus” icon.
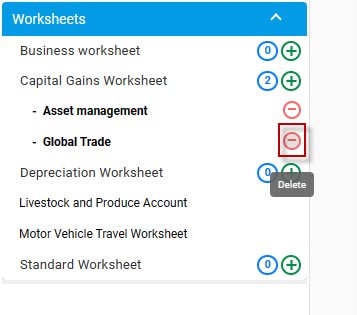
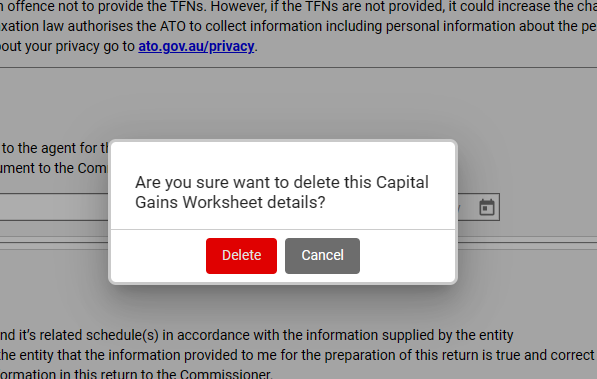
The particular worksheet which has “Global Trade” will be deleted.